-
Hole 1 - Par 4
The 340 yard Par 4 first hole is one of two holes on the front nine not set in the woods. This hole provides a friendly reception to those teeing off with it's large fairway and straight forward layout. The three off-set sand traps around the green are the only obstacle.
Blue White Gold Red 340 319 254 218 -
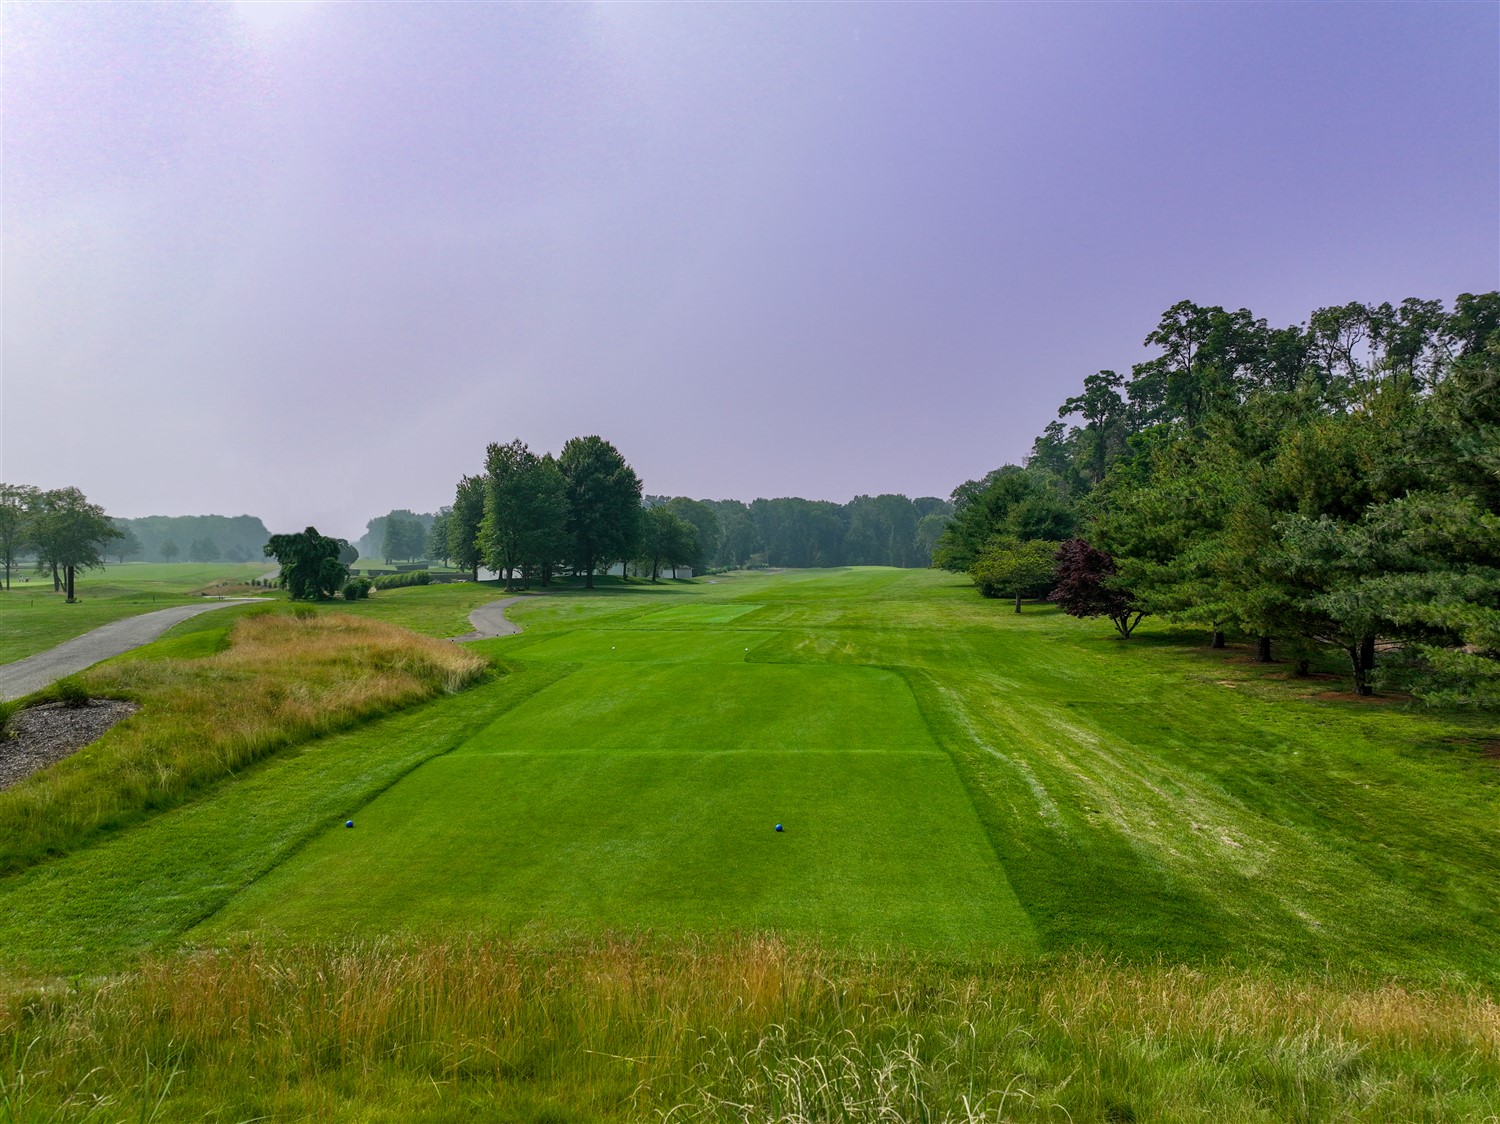
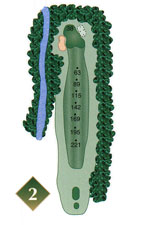
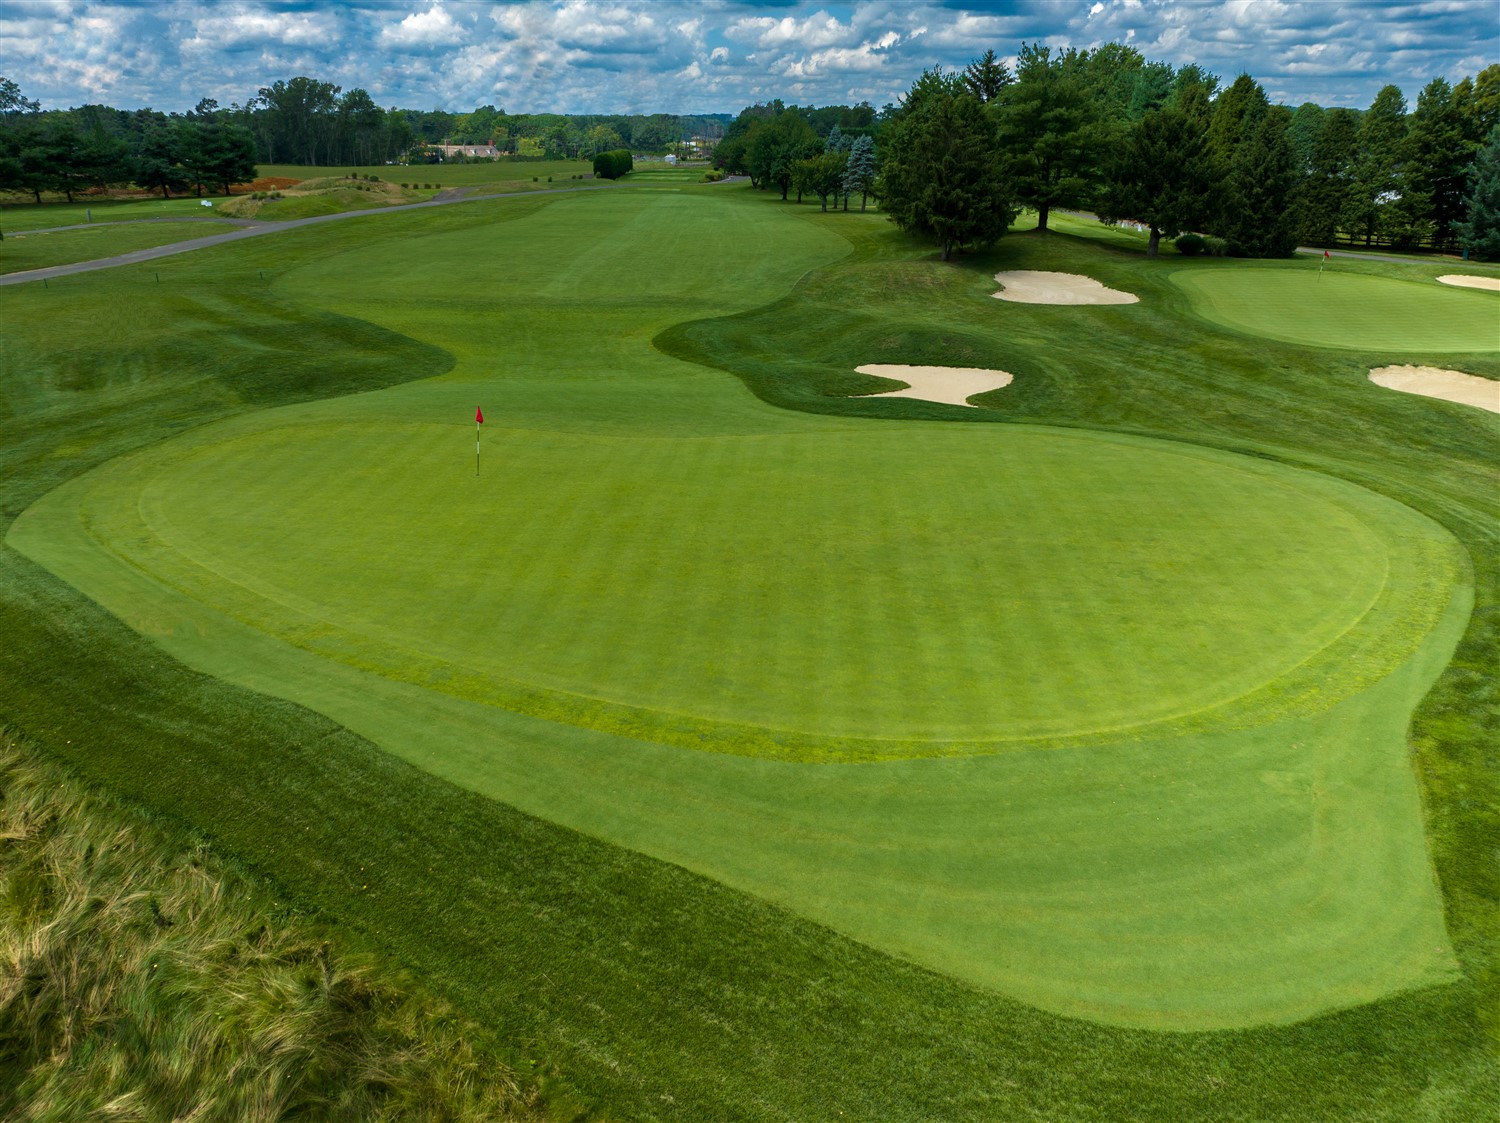
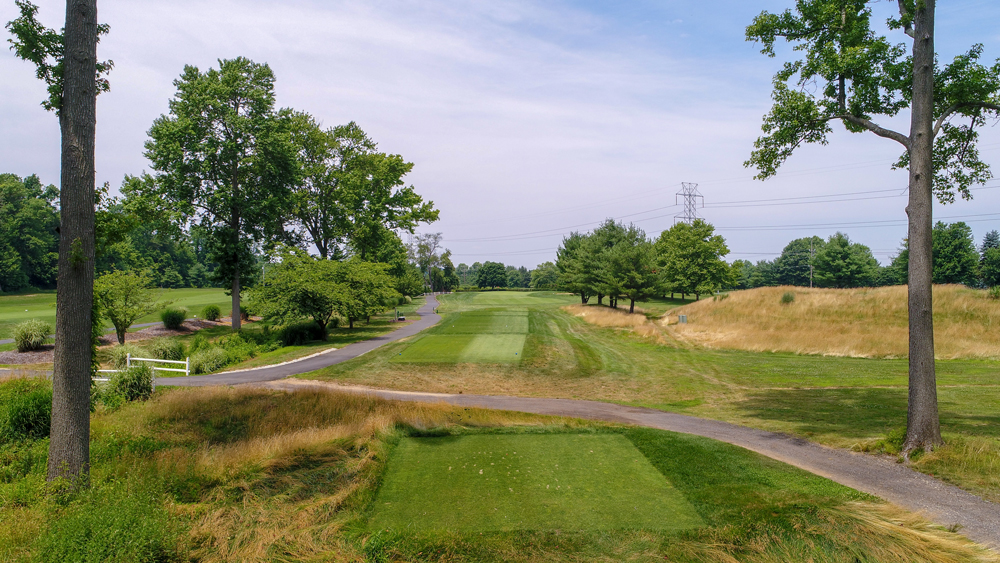
Hole 2 - Par 4
The 413 yard Par 4 second hole introduces the woods that will surround the next six holes. The trees lining the right hand side of the hole await any errant shots. The trees and water to the left of the hole are set far enough back to avoid presenting any obstacle for most shots.
Blue White Gold Red 413 387 343 326 -
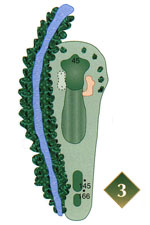
Hole 3 - Par 3
The 213 yard par 3 third hole is the second easiest on the course. The water and trees to the right will only come into play with balls hit well to the left. To the right, a lone sand trap guards the green. A well-placed tee shot will provide players with a great birdie opportunity.
Blue White Gold Red 213 180 142 113 -
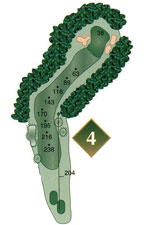
Hole 4 - Par 4
The 416 yard Par 4 fourth hole is a dog leg right carved out amongst the trees. A lone sand trap guards the left of the green. The dense forest on both sides and the tough bend make this the third most difficult hole on the course.
Blue White Gold Red 416 395 313 307 -
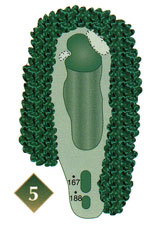
Hole 5 - Par 3
The 200 yard Par 3 fifth hole is a dog leg right carved out amongst the trees. A lone sand trap guards the left of the green. The dense forest on both sides and the tough bend make this the third most difficult hole on the course.
Blue White Gold Red 200 172 130 120 -
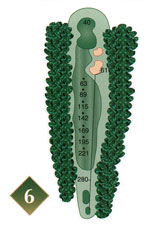
Hole 6 - Par 4
The 385 yard Par 4 sixth hole provides players with a large fairway that narrows towards the green. The trees that line the fairway are a factor for tee shots off to the left or right. Coming up short and to the right on the approach will land players in one of the two sand traps protecting the green.
Blue White Gold Red 385 335 276 268 -
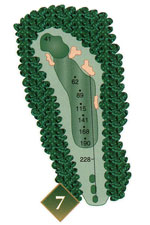
Hole 7 - Par 4
The 322 yard Par 4 seventh hole is a slight dog leg left. Three sand traps line the right side of the fairway leading towards the green with one sand trap protecting the left. Avoiding missing to the right is the best way to stay out of trouble off the tee.
Blue White Gold Red 322 303 268 249 -
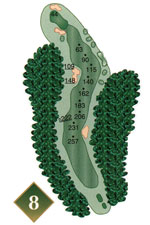
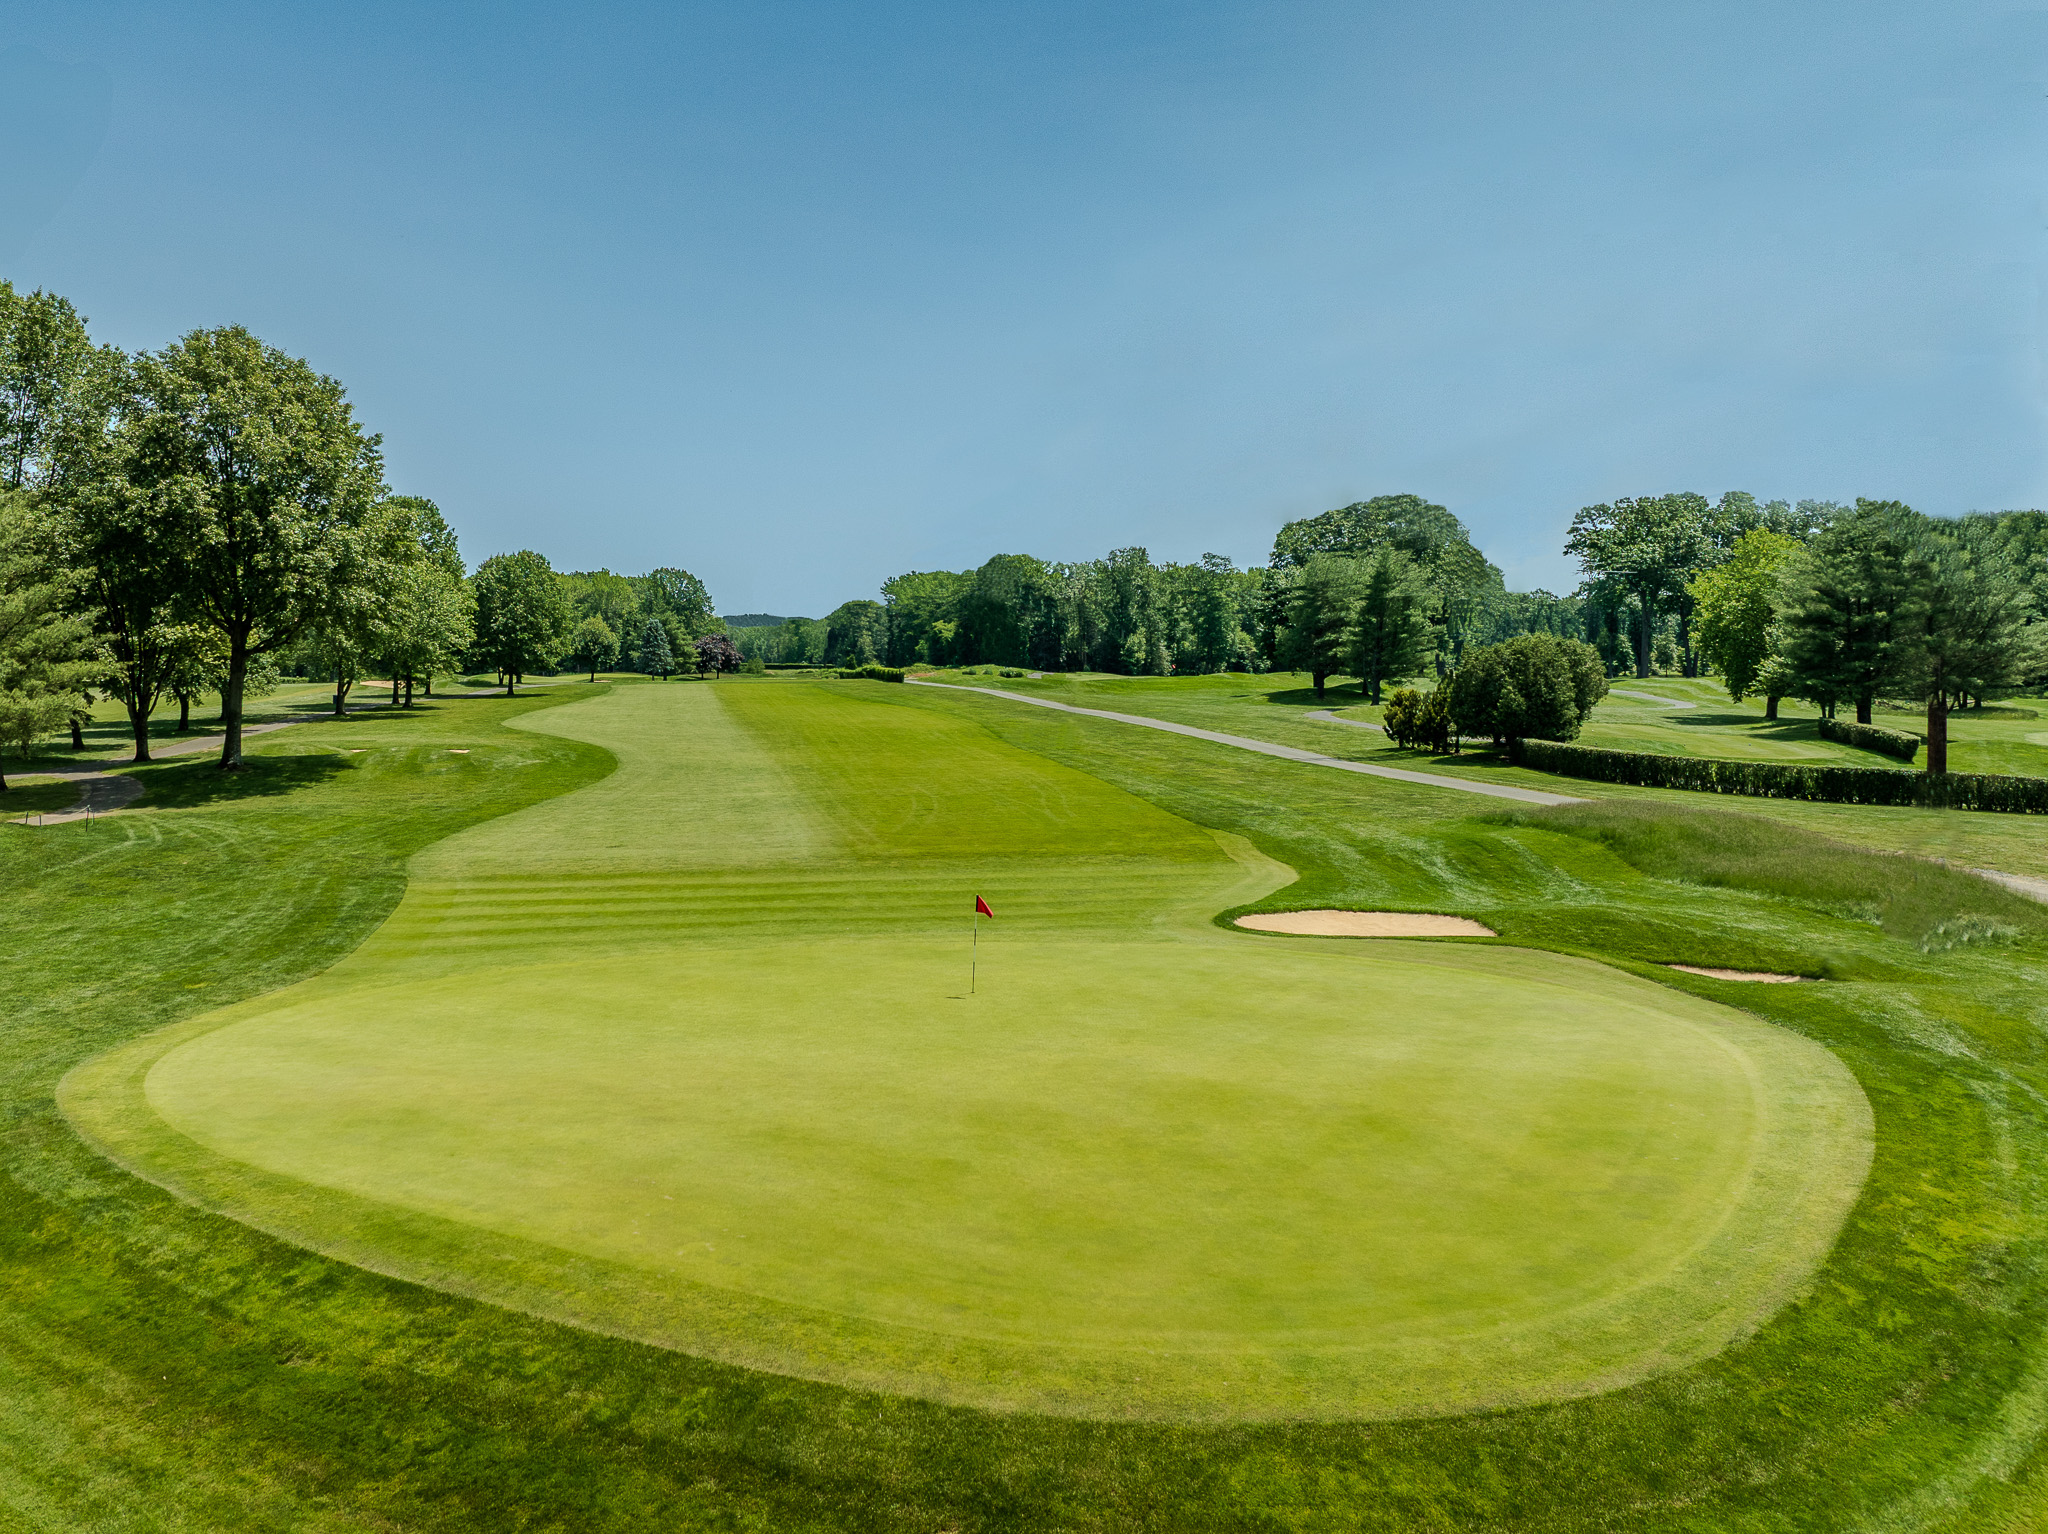
Hole 8 - Par 5
The 575 yard Par 5 eighth hole is the most difficult on the course. A double dog leg fairway winds through the trees with well placed sand traps throughout. Tall trees along the left side make it difficult to cut any corners to reduce the distance. A second shot along the right side of the fairway will give players a better look at the green.
Blue White Gold Red 575 511 453 447 -
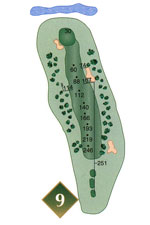
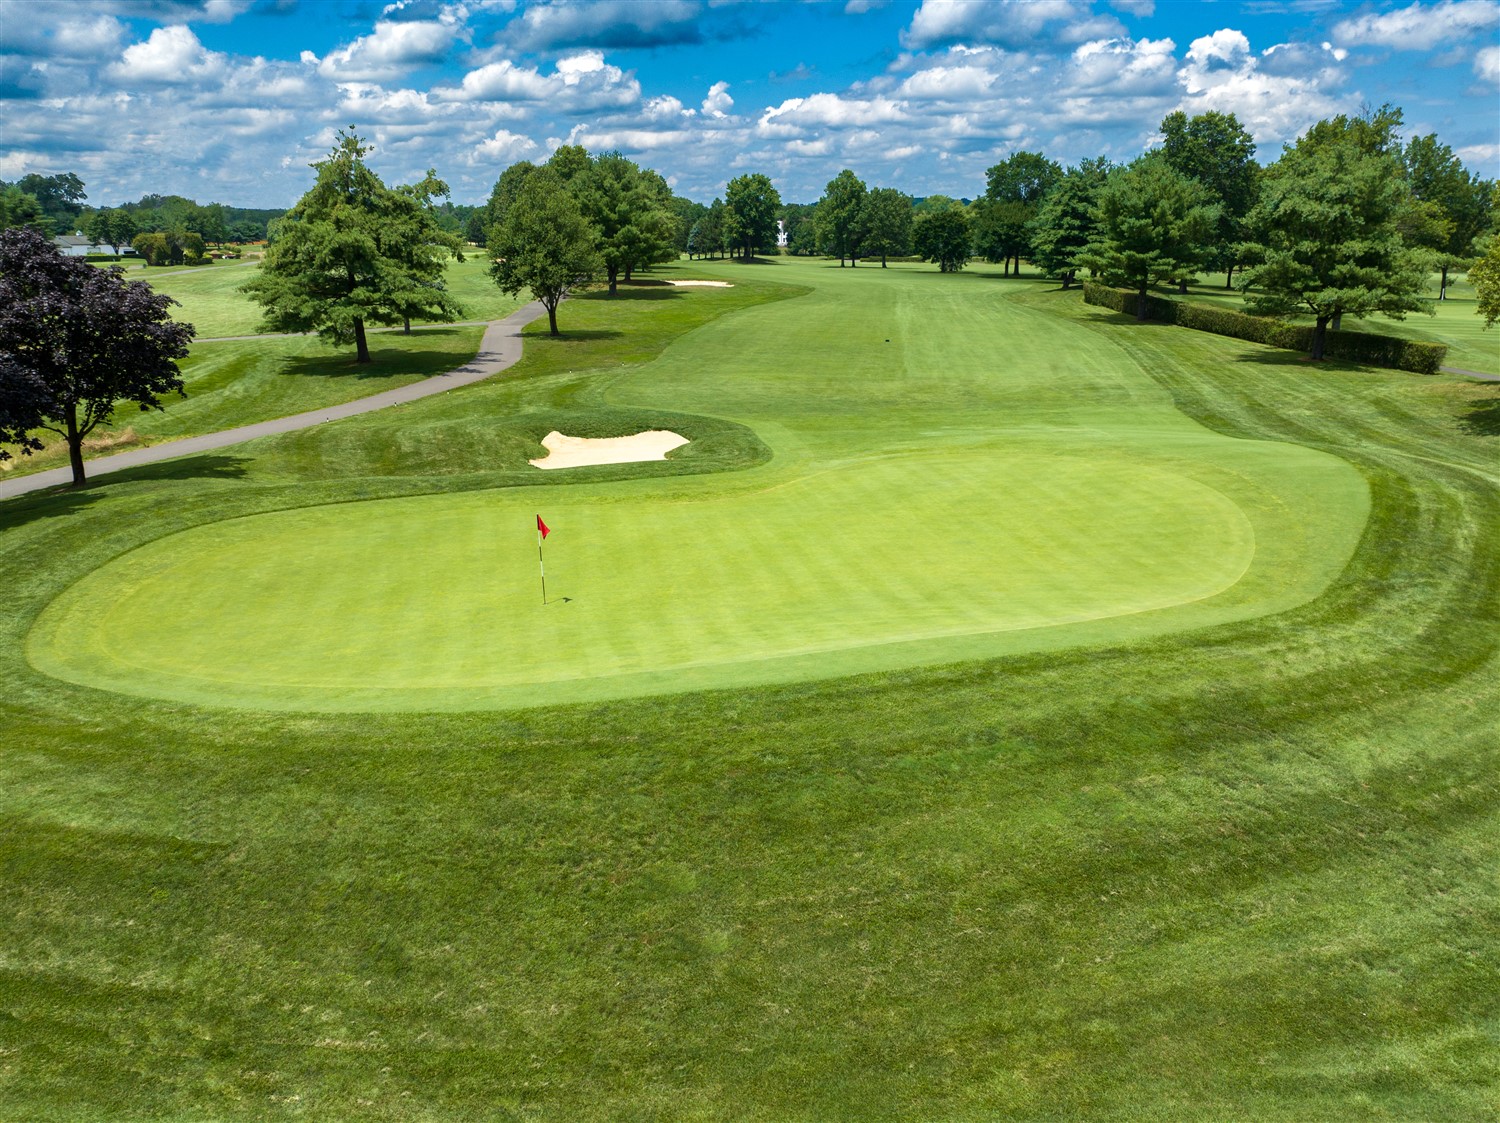
Hole 9 - Par 4
The 350 yard Par 4 ninth hole opens up and introduces the type of links golf that will continue throughout much of the back nine. A large fairway and few trees along the sides are forgiving to errant shots. Longer players will find themselves with a short approach to the green.
Blue White Gold Red 350 340 303 276 -
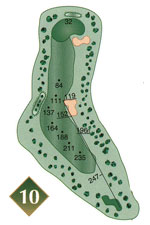
Hole 10 - Par 4
The 376 yard par 4 tenth hole is a slight dog leg right. A well placed sand trap at the corner will catch anyone who comes up short trying to cut the corner. A deep sand trap in the right front and a steep slope in the back, protect the green.
Blue White Gold Red 376 367 304 297 -
Hole 11 - Par 3
The 228 yard par 3 eleventh hole is the last hole before the 18th where water isn't in play. Avoiding the large sand trap on the left and a good putt on the large, undulating green are the keys to a birdie on this hole.
Blue White Gold Red 228 200 149 142 -
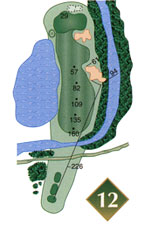
Hole 12 - Par 4
The 306 yard par 4 twelfth hole introduces water to the course landscape with a small creek up front and a lake along the left side. The sand trap along the right gives players something to think about when trying to avoid the water to the left. Another sand trap protects the front right of the green.
Blue White Gold Red 306 295 248 228 -
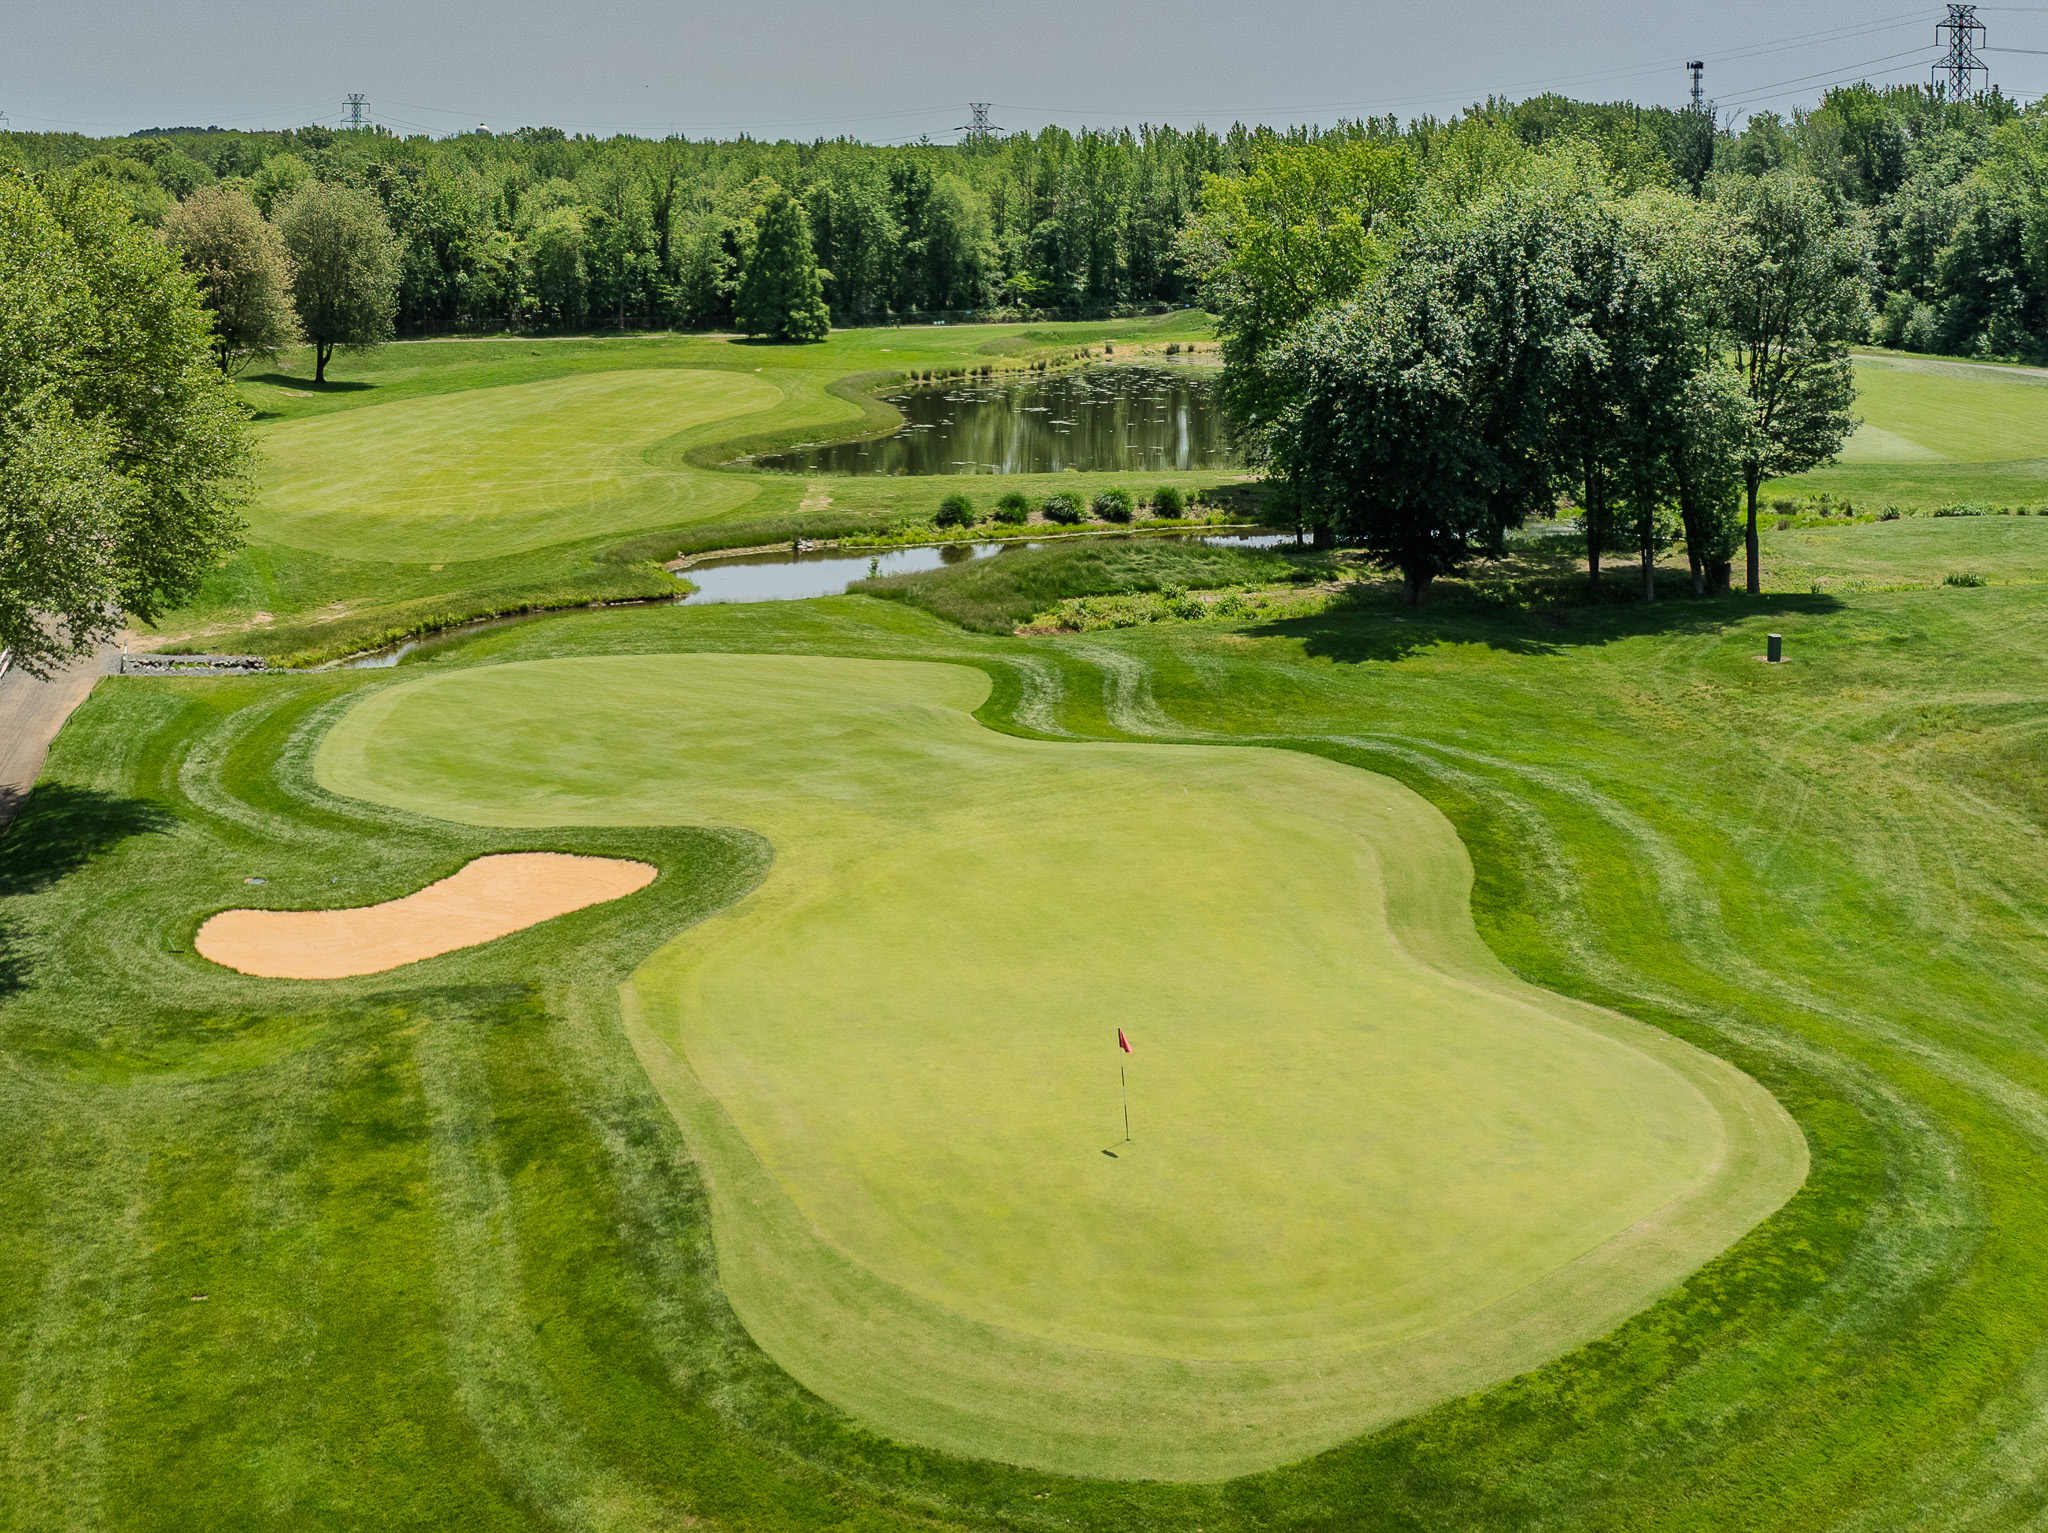
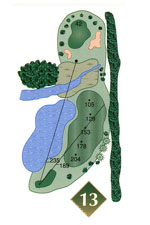
Hole 13 - Par 4
The 293 yard par 4 thirteenth hole provides longer players with an opportunity to take a risk and go for the green off the tee. 235 yards will clear the two water hazards and deep rough, but will still be short of the green. A wide fairway invites players to lay up and hit the approach.
Blue White Gold Red 293 287 259 248 -
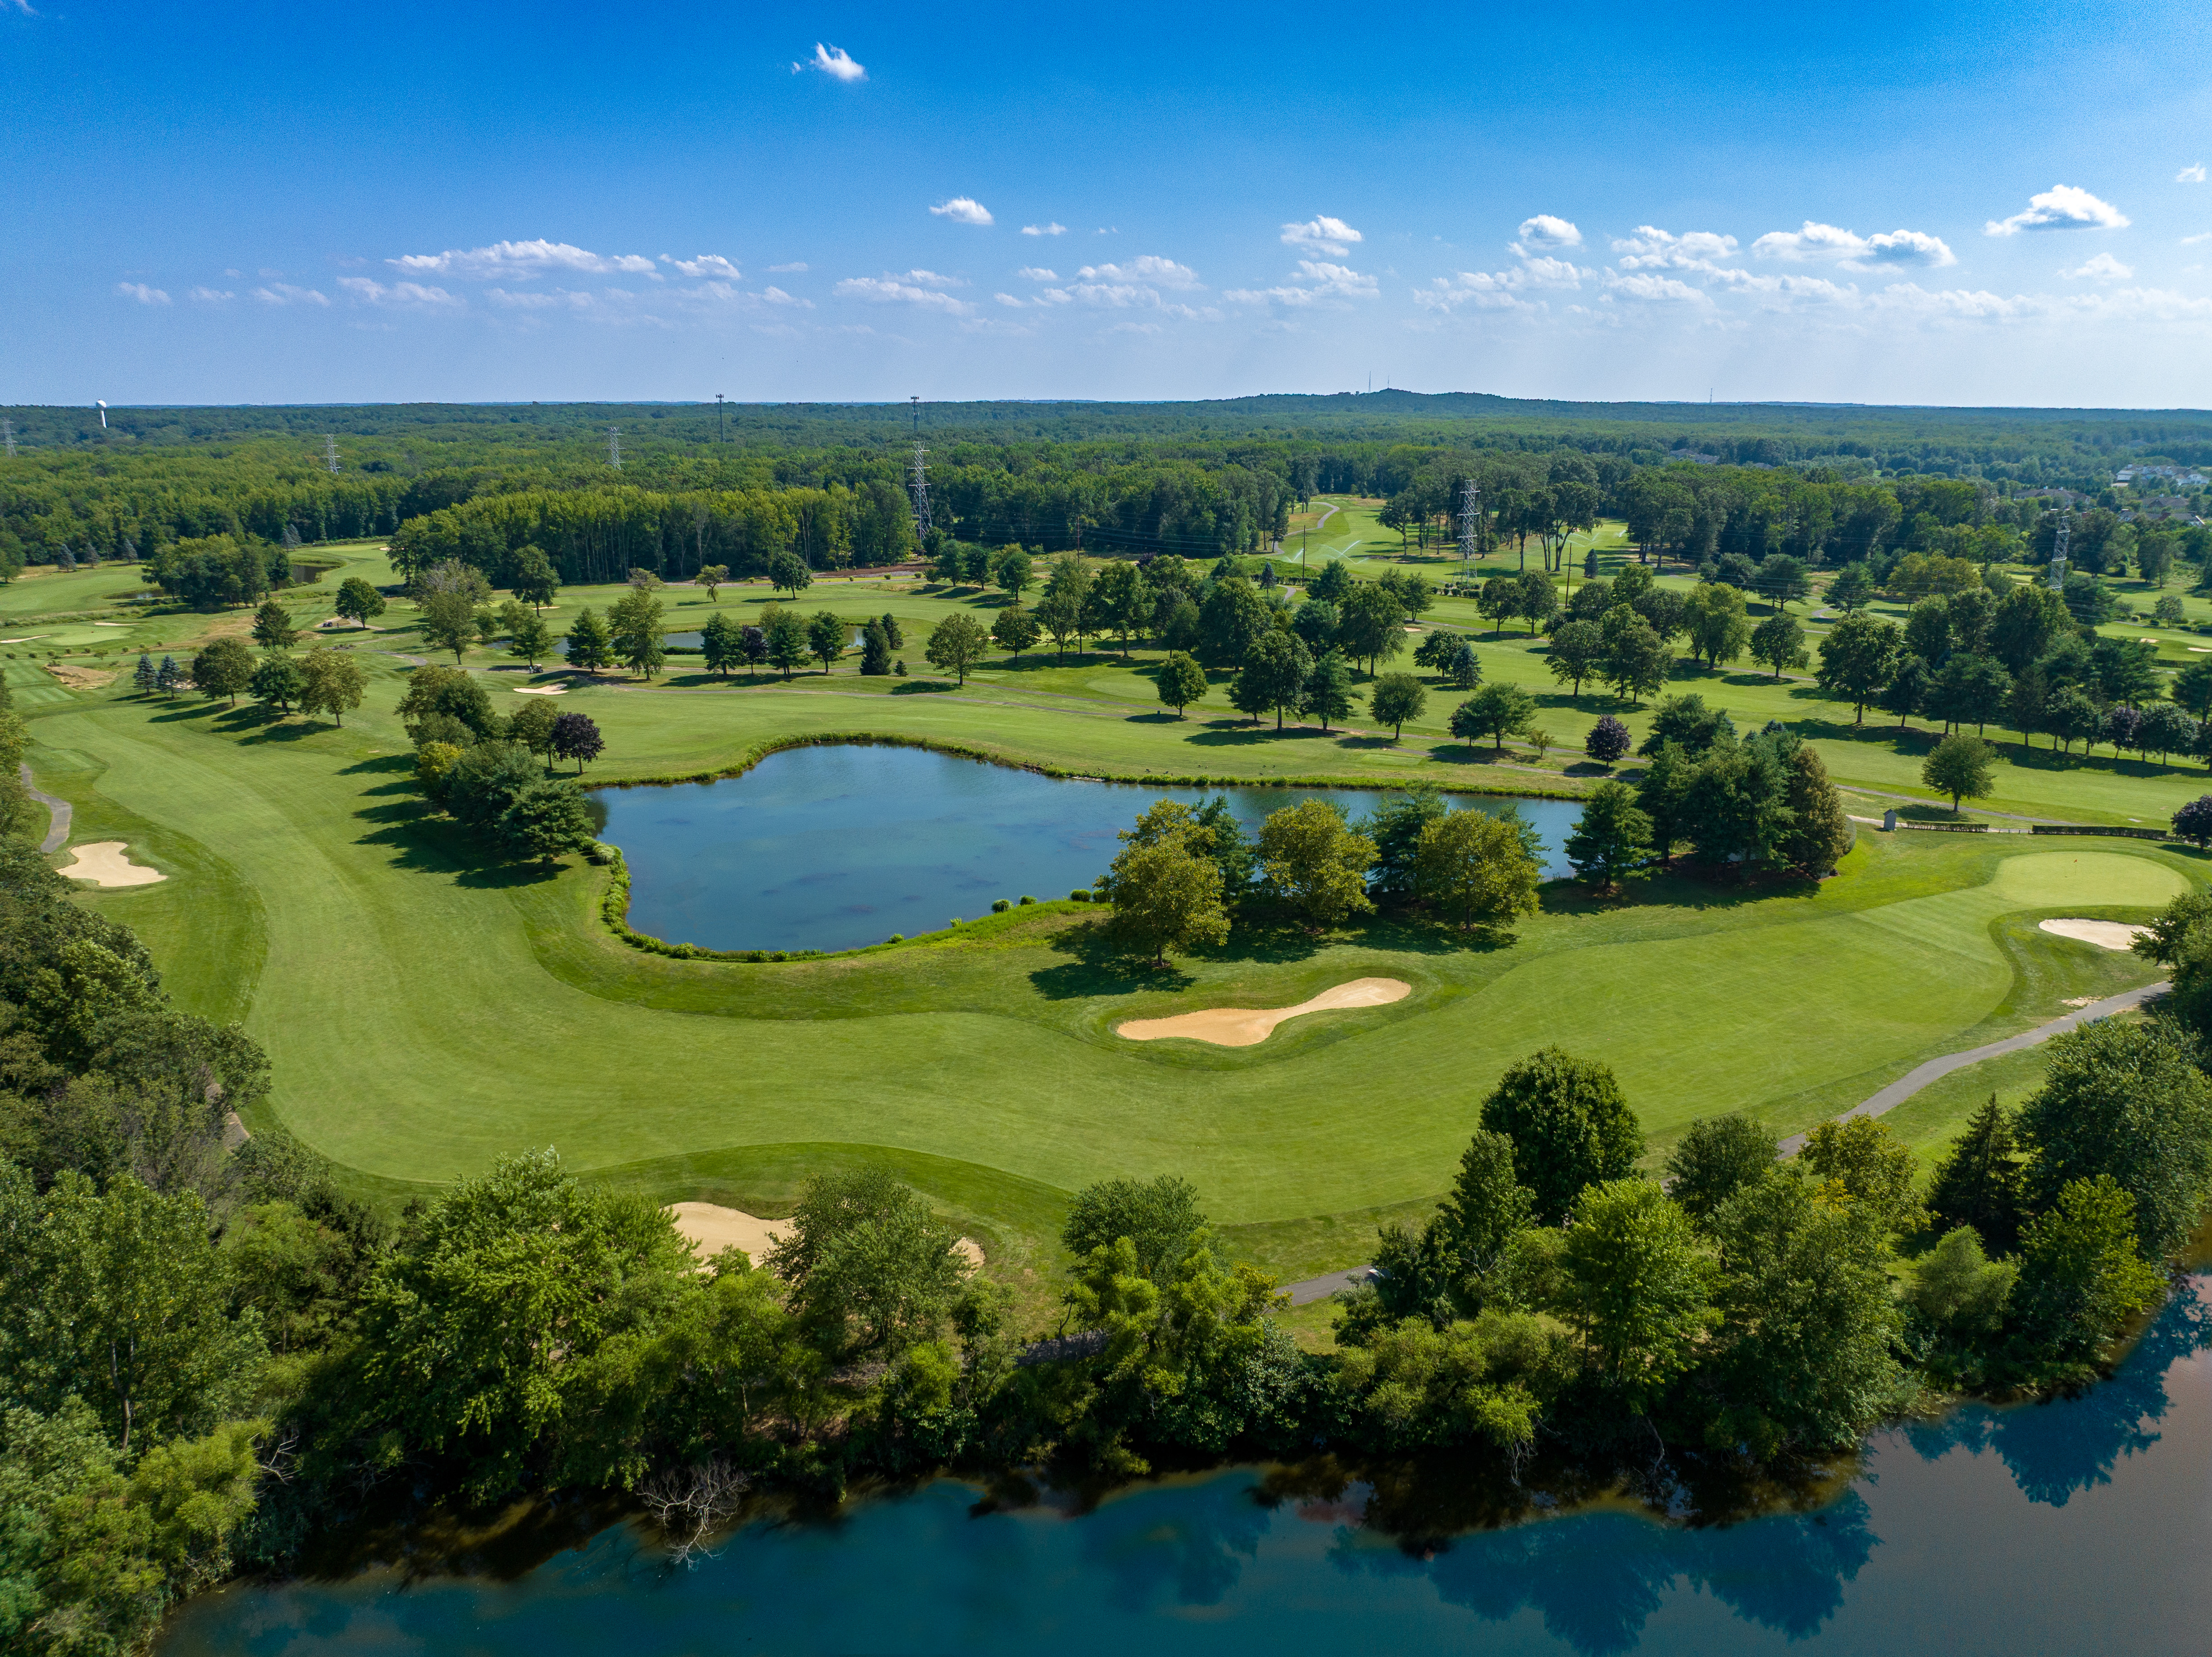
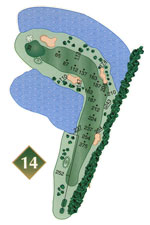
Hole 14 - Par 5
The 578 yard par 5 fourteenth hole is one of the signature holes at Pebble Creek. The second most difficult hole on the course has a wide fairway that is a dog leg left around a large lake. Longer players can try to shoot over the lake on the second shot, however it is a very difficult task.
Blue White Gold Red 578 577 488 396 -
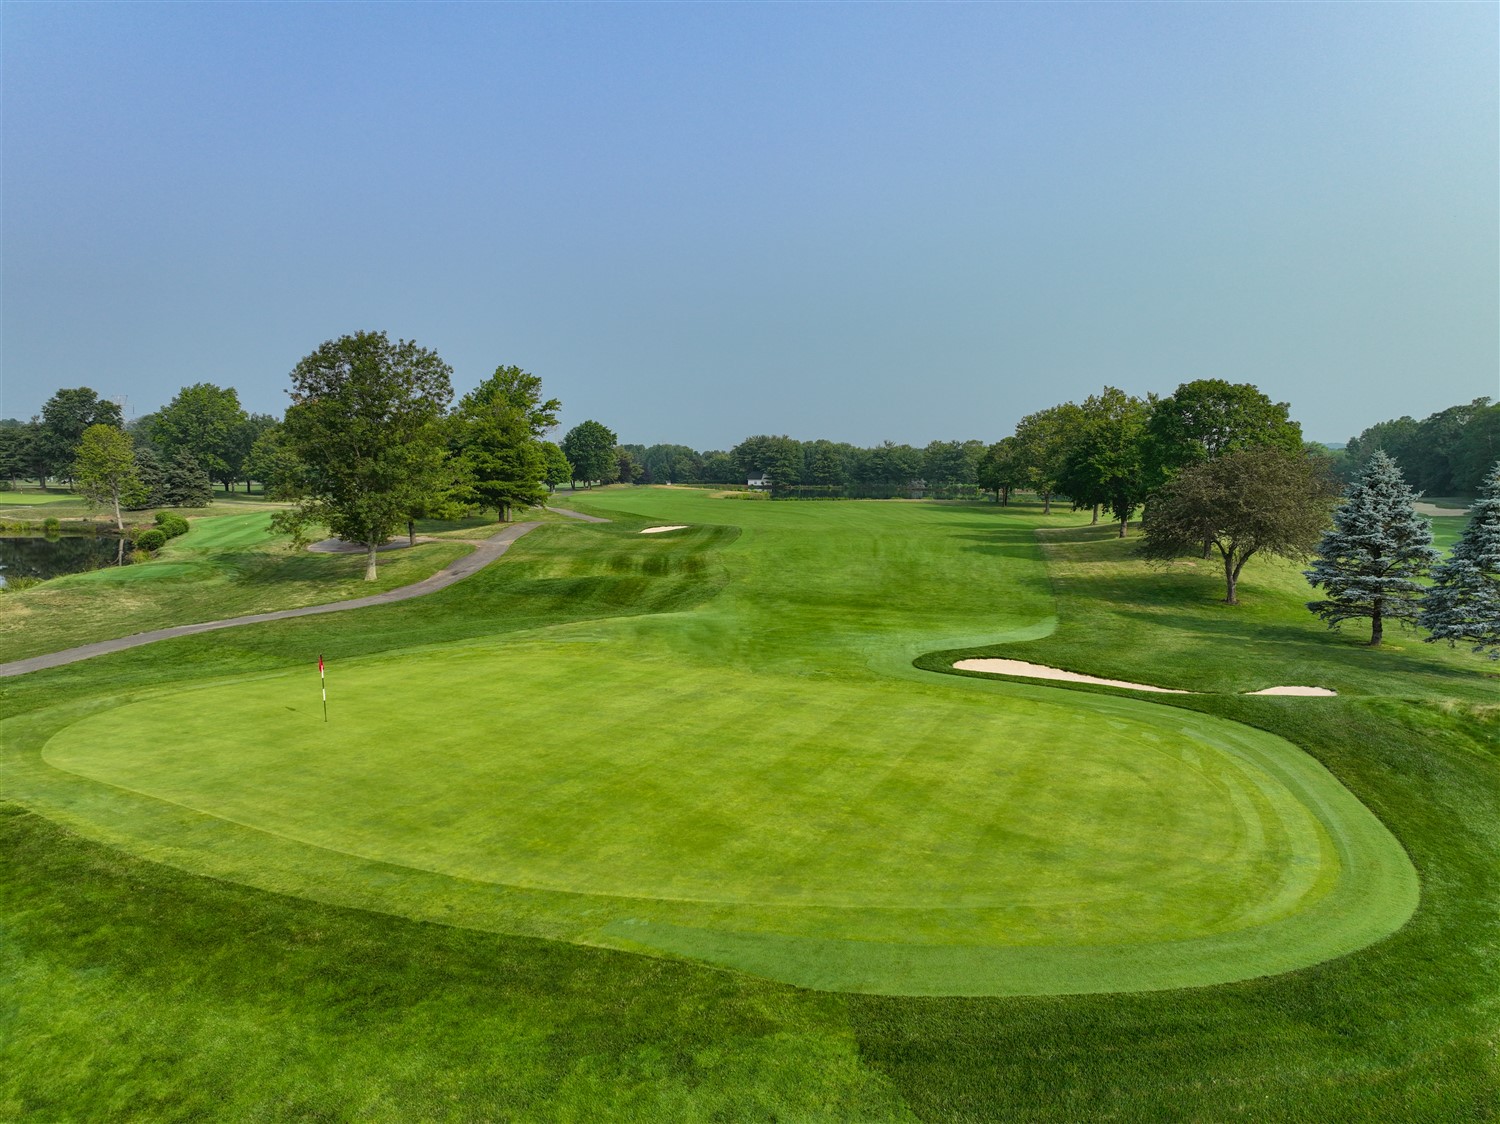
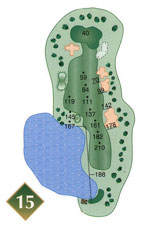
Hole 15 - Par 4
The 370 yard par 4 fifteenth hole is another challenging hole. The same lake that was in play on the fourteenth is to the left here. Three sand traps along the right fairway will provide an obstacle off the tee. The green is protected by a lone sand trap to the left.
Blue White Gold Red 370 357 295 288 -
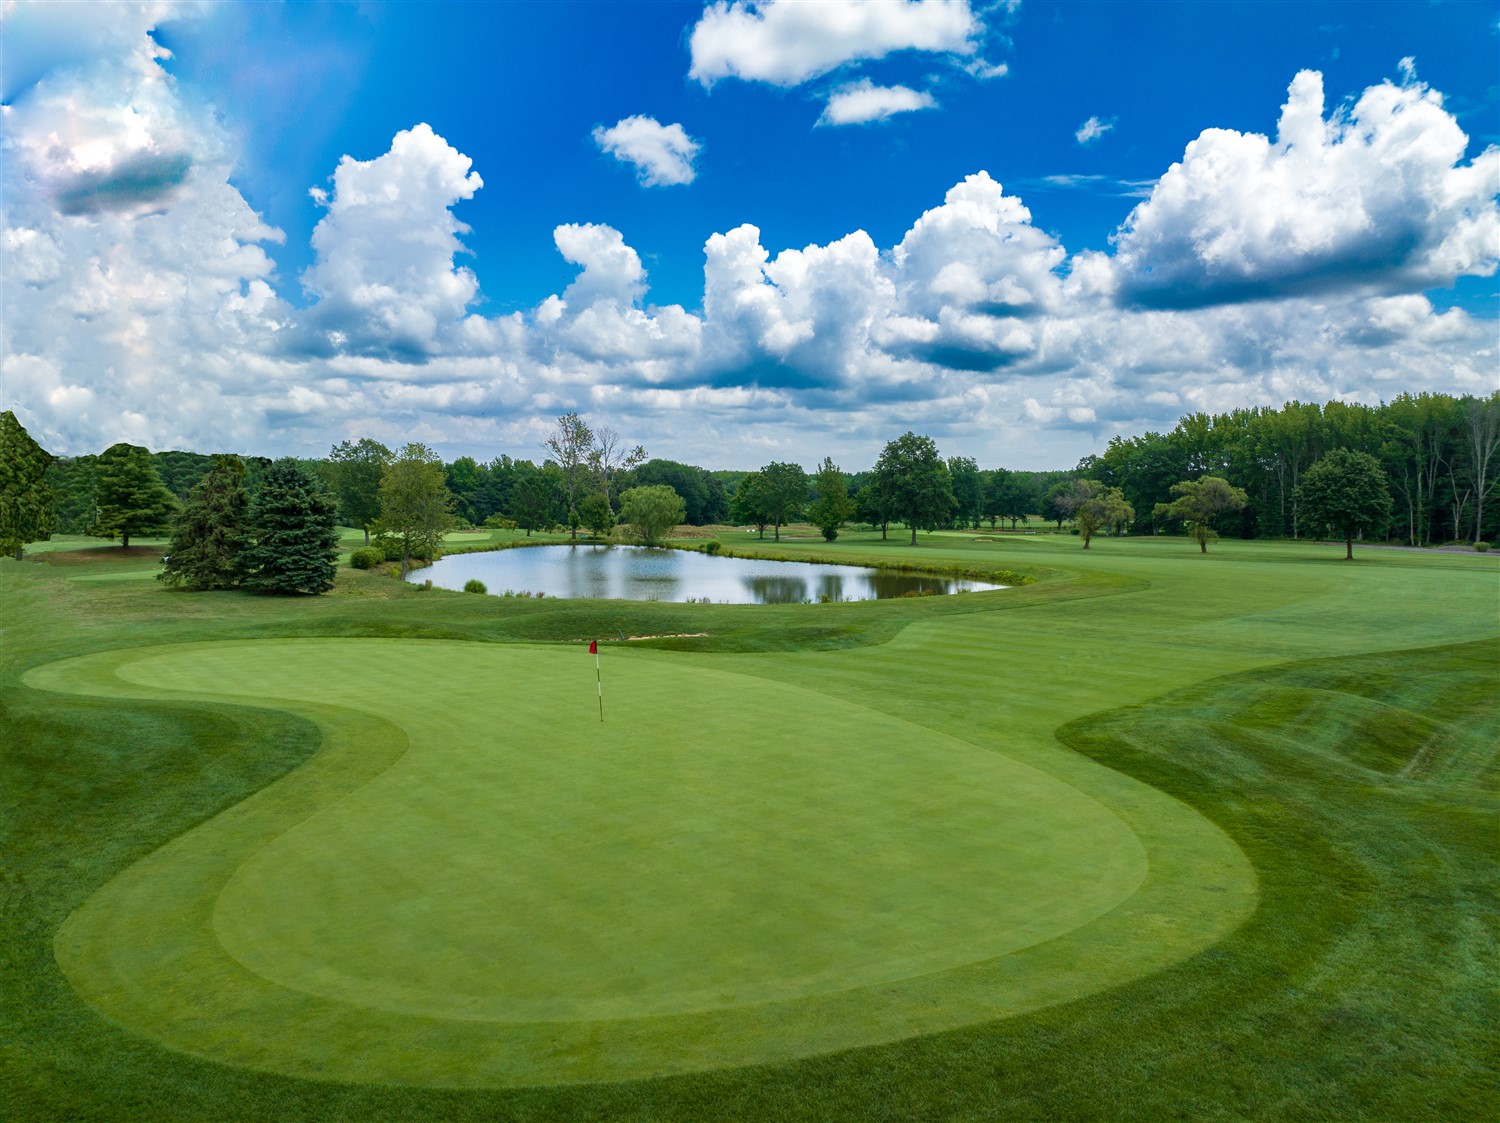
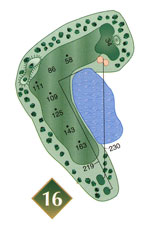
Hole 16 - Par 4
The 330 yard par 4 sixteenth hole is another dog leg around a lake. The 230 yards from the tee to the green by cutting across the lake leaves players with a decision to make. Anything short will end up either in the water or the sand trap that's placed in the front right of the green.
Blue White Gold Red 330 324 250 244 -
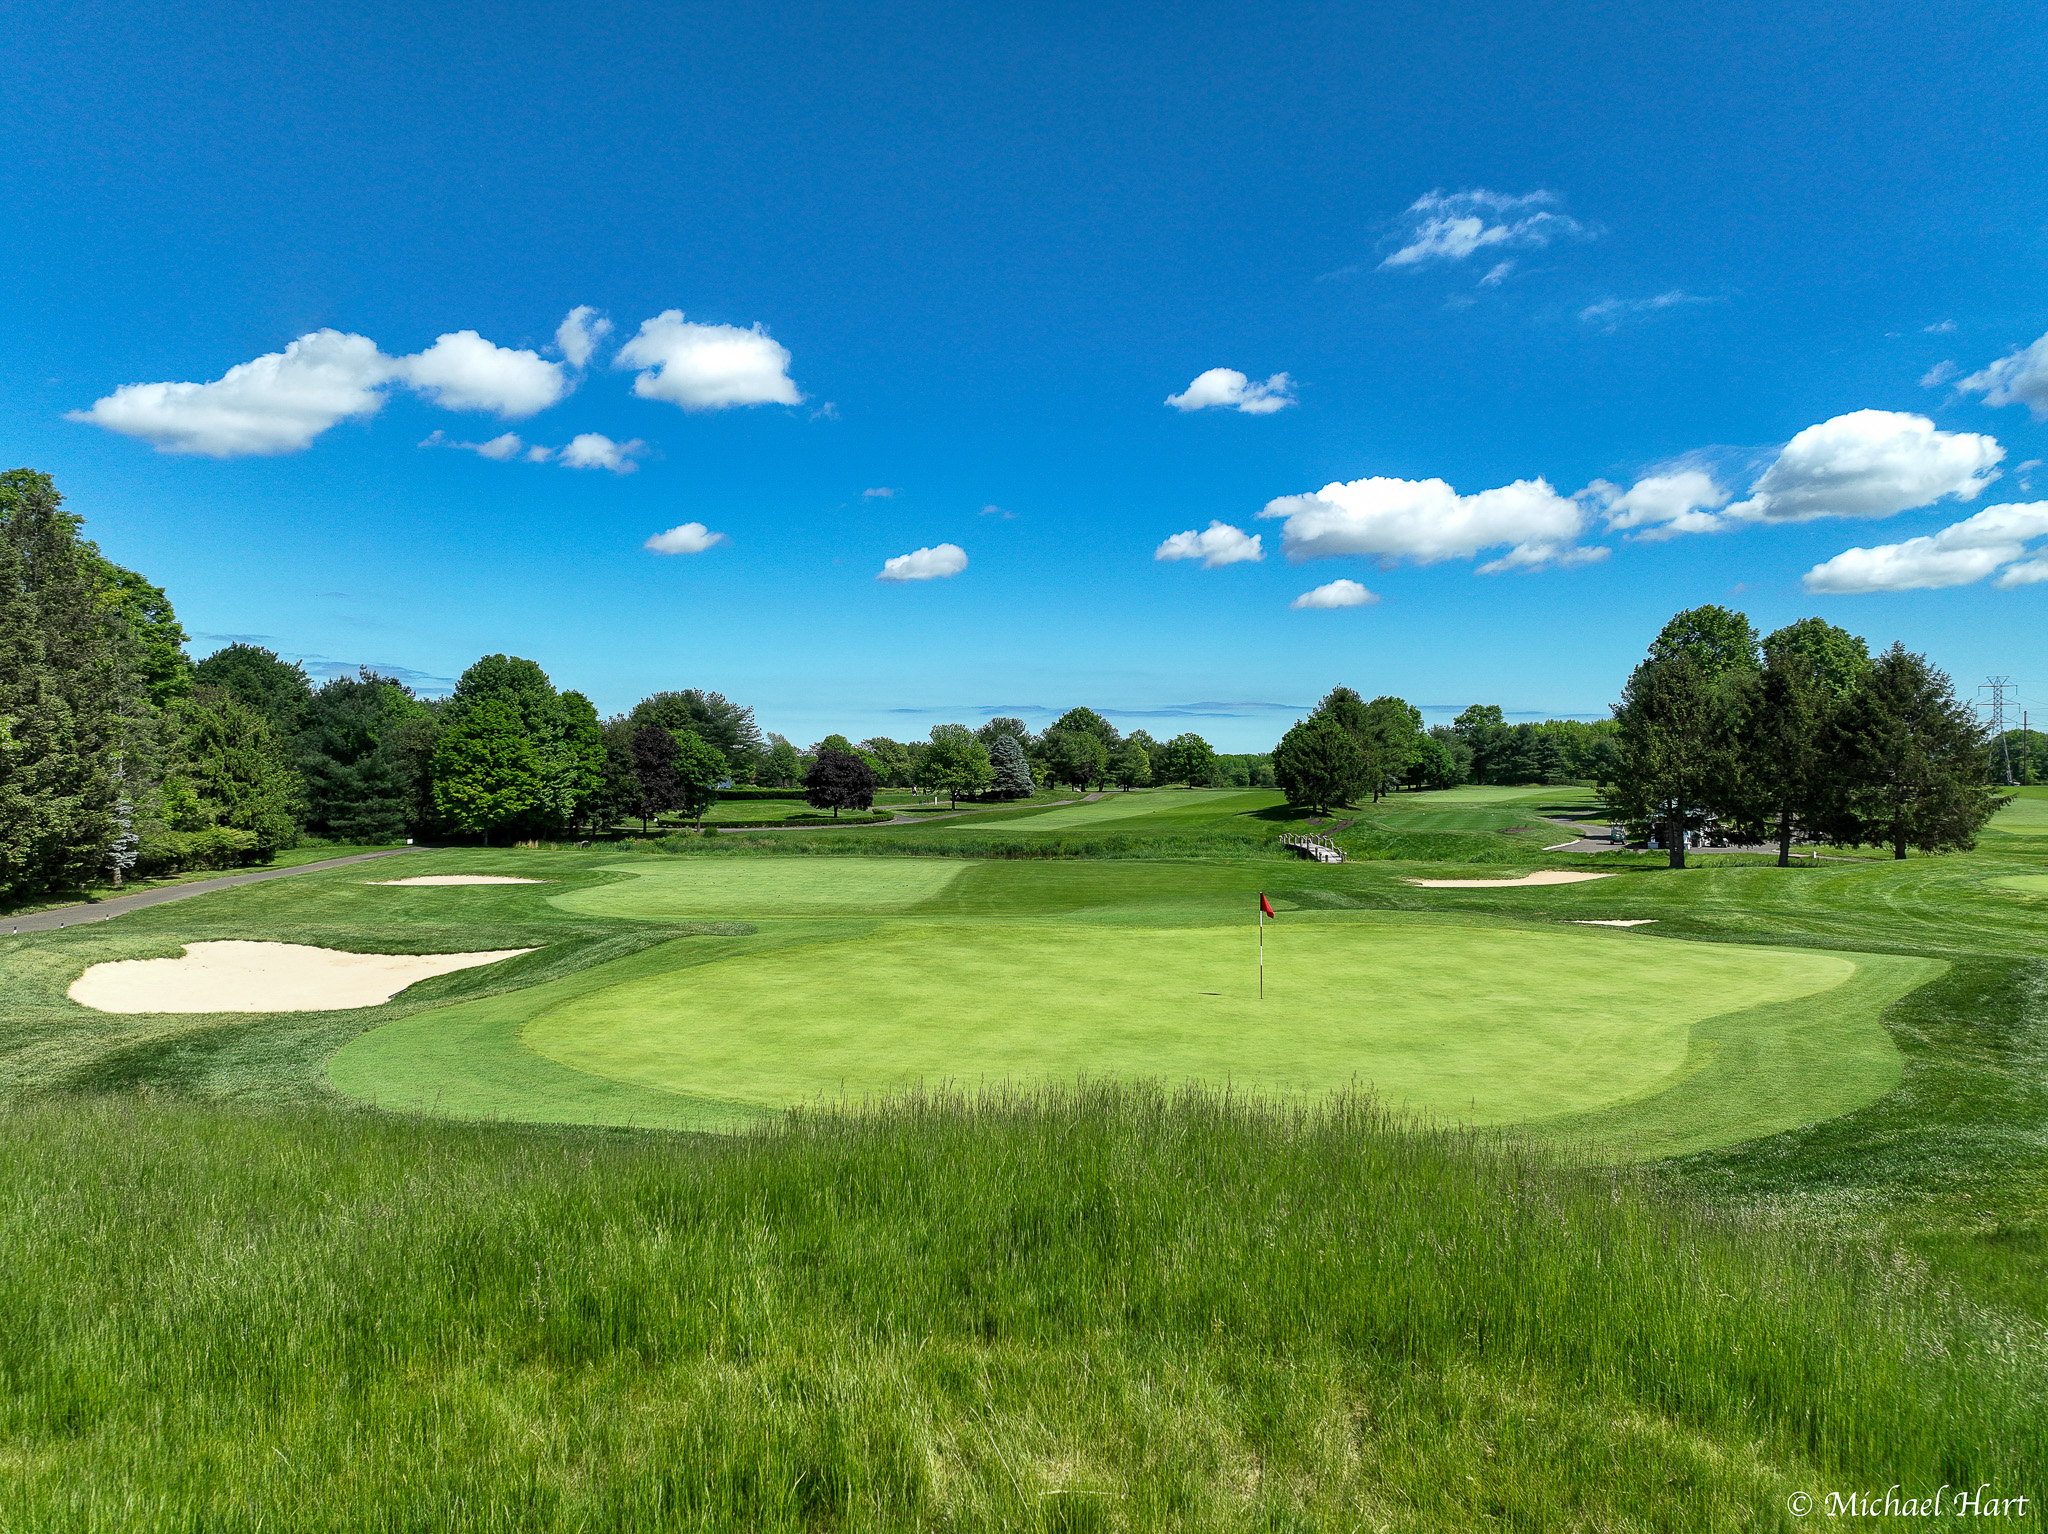
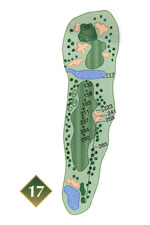
Hole 17 - Par 5
The 530 yard par 5 seventeenth hole is another long hole where water comes into play. A narrow lake interrupts the fairway 117 yards from the green, forcing longer players to lay up on their second shot to avoid going in the water. Once the water is out of play, 5 bunkers surround the green, giving players another obstacle to consider.
Blue White Gold Red 530 491 388 380 -
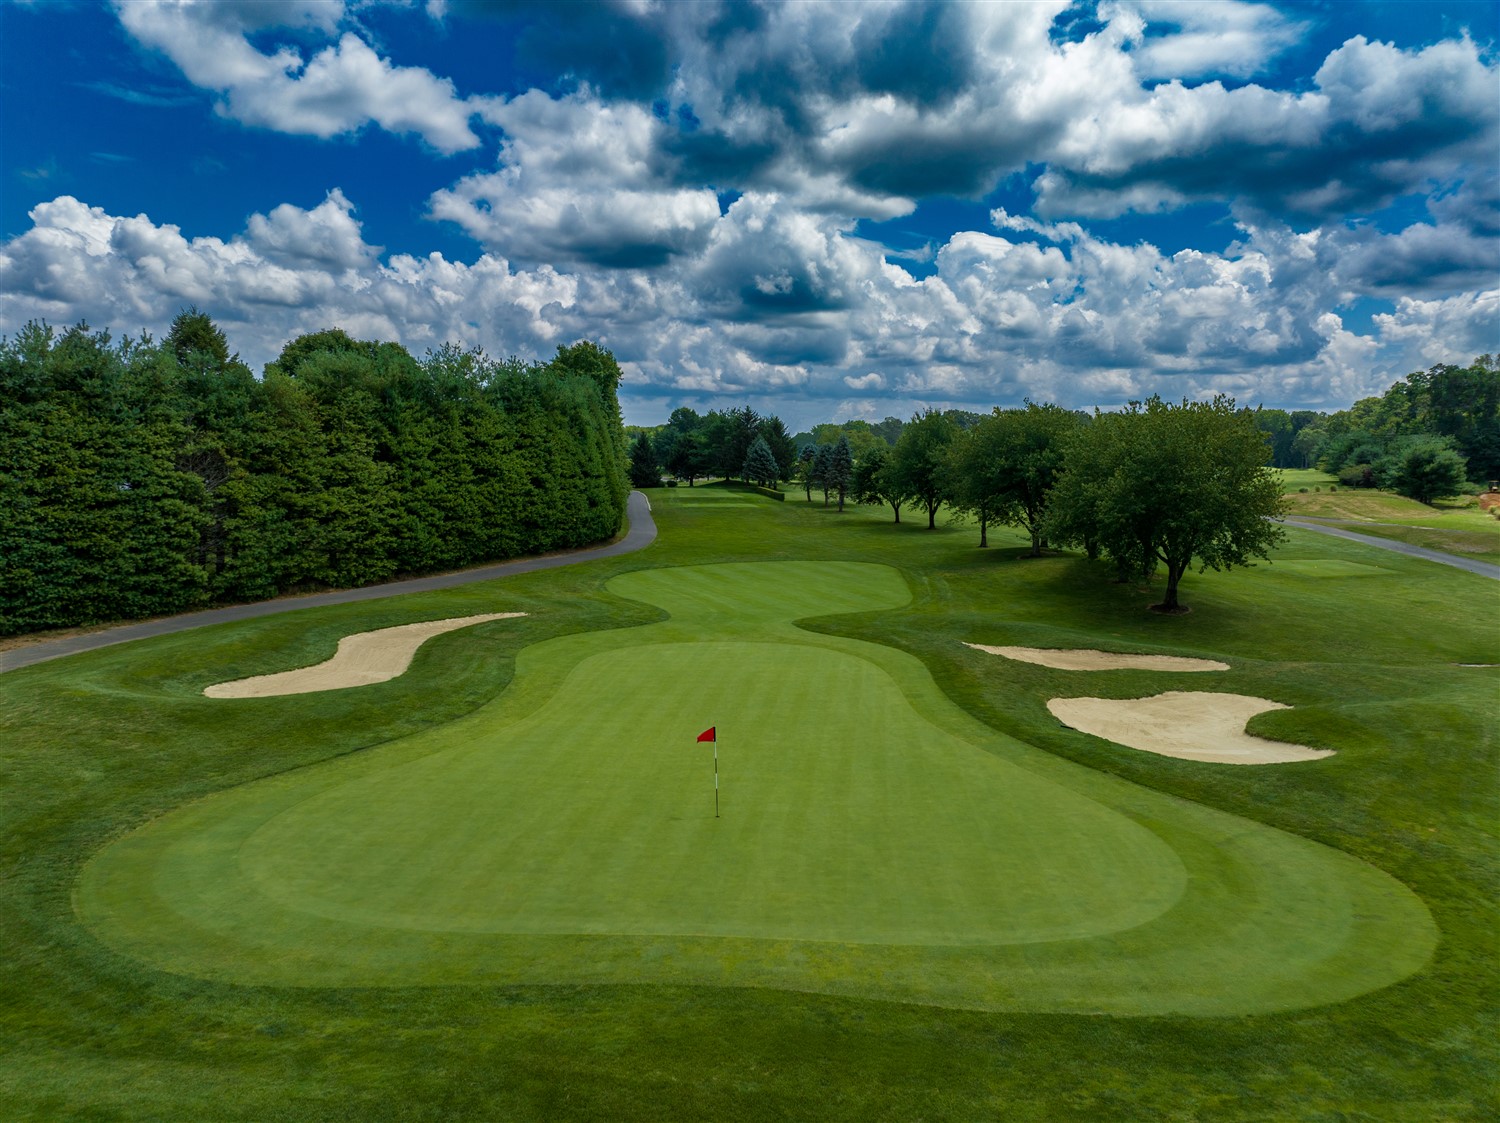
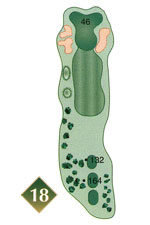
Hole 18 - Par 3
The 188 yard par 3 18th is the easiest hole on the course, giving the players the opportunity to finish strong. The large, undulating green is surrounded by 3 bunkers that will catch any errant tee shots to the right or left.
Blue White Gold Red 188 167 144 128